A few months into the pandemic, a crisis hit the sanitation workers. The lack of PPEs and inability to be socially distant in their jobs meant COVID spread rapidly among these front line workers. Since they worked in teams, one person’s positive test meant the entire team had to be under quarantine. That also meant that garbage collection got delayed just as the weather started to get warm. I don’t compost so my goal was to reduce as much as food waste as possible so that I did not have stuff decomposing in the trash compactor.
It was also about the time when I started ordering oranges and lemons in bulk, like 20 pounds at a time. I always felt bad about throwing out what seemed to be about 20 percent of the fruit so I started thinking about ways to use it.
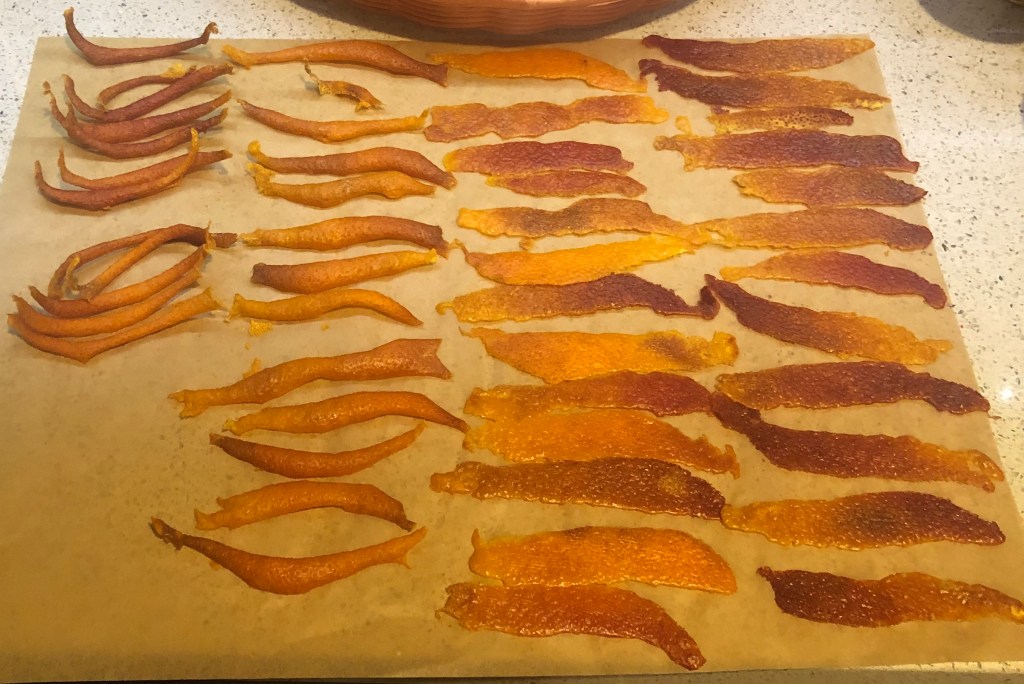
First, I found out that it was rather easy to just dry the peels. Using a vegetable peeler, peel the rind, making sure not to get too much of the white bits, put it on a piece of parchment paper pith side down, and let it sit for a few days. The rind will curl up as it dries. It’s completely dry when it snaps with a nice crisp sound when you bend the peel. I store these in a large, wide-mouthed jar, lid open, in the cabinet. It really makes the cabinet smell fresh. I add dried peels along with cinnamon sticks, star anise, and bay leaves and simmer on the stove as an air freshener, especially after cooking fish.
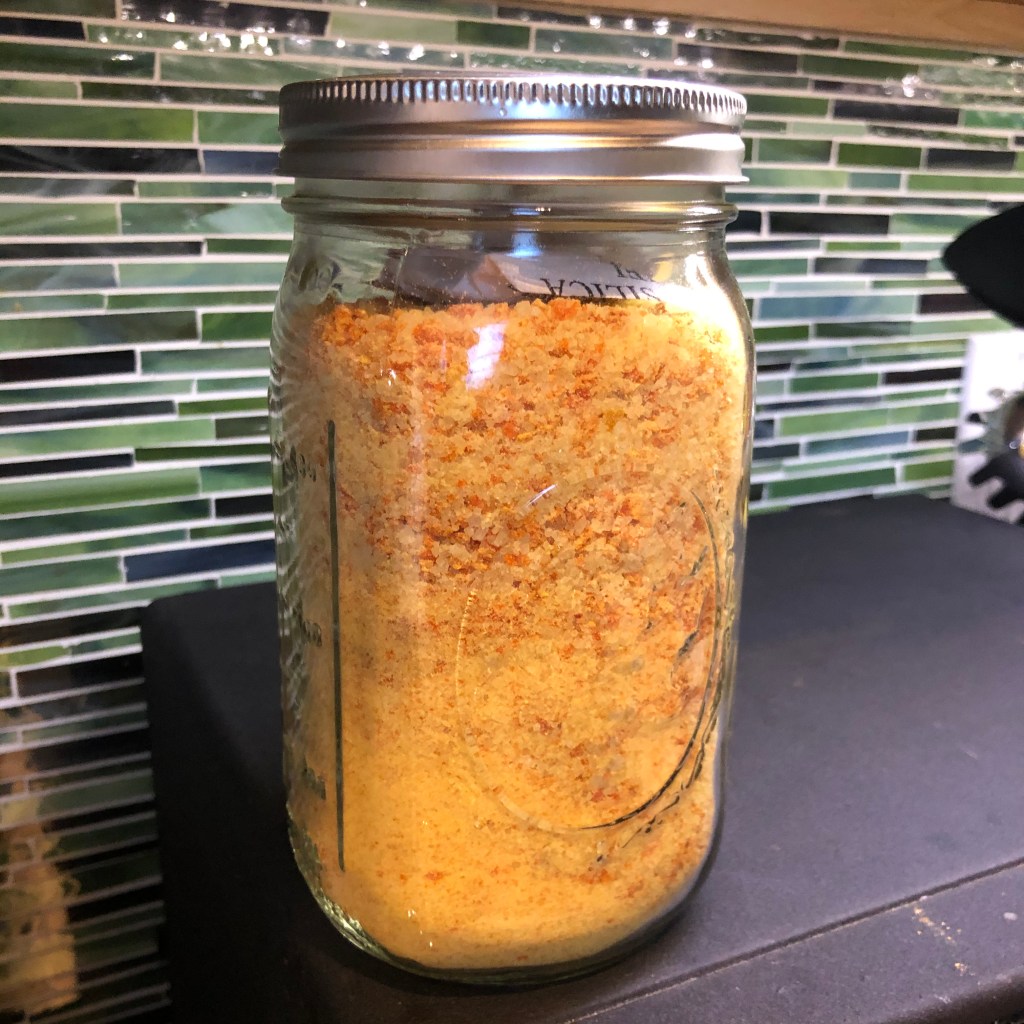
At some point, though, the dried peels were piling up. Even dried, 20 pounds of navel oranges produce a lot of peels. So, the next step was to figure out what to do with those dried peels. I remembered seeing orange and lemon salt in the grocery store. I took out the “spice grinder” (that is, the coffee grinder that I never threw out when we bought a burr grinder) and ground up some dried peels. It totally turned it into powder! I added some kosher salt and ground it again, and voila! Orange salt! I kinda like it ground a bit unevenly. When added to something liquidy (like oil or vinegar), it reconstitutes and becomes a pretty orange flake. Instead of regular salt for baking molasses cookies, I add a teaspoon of the finer parts of the orange salt. I don’t know if it actually makes a difference, but I would like to think so.
Since a small quantity goes a long way, I could even mail it in a regular envelope to friends without extra postage. I would put about a quarter to a third cup of orange salt in a snack size ziploc bag and flatten it out so that it didn’t bulge too much and a forever stamp was all that is necessary. It’s shelf stable so it travels well. Just in case, though, for large quantities I keep at home, I throw in a dessicant pack or two.
Apart of making salt, I started macerating orange peels in sugar to use as a base for making orange marmalade.
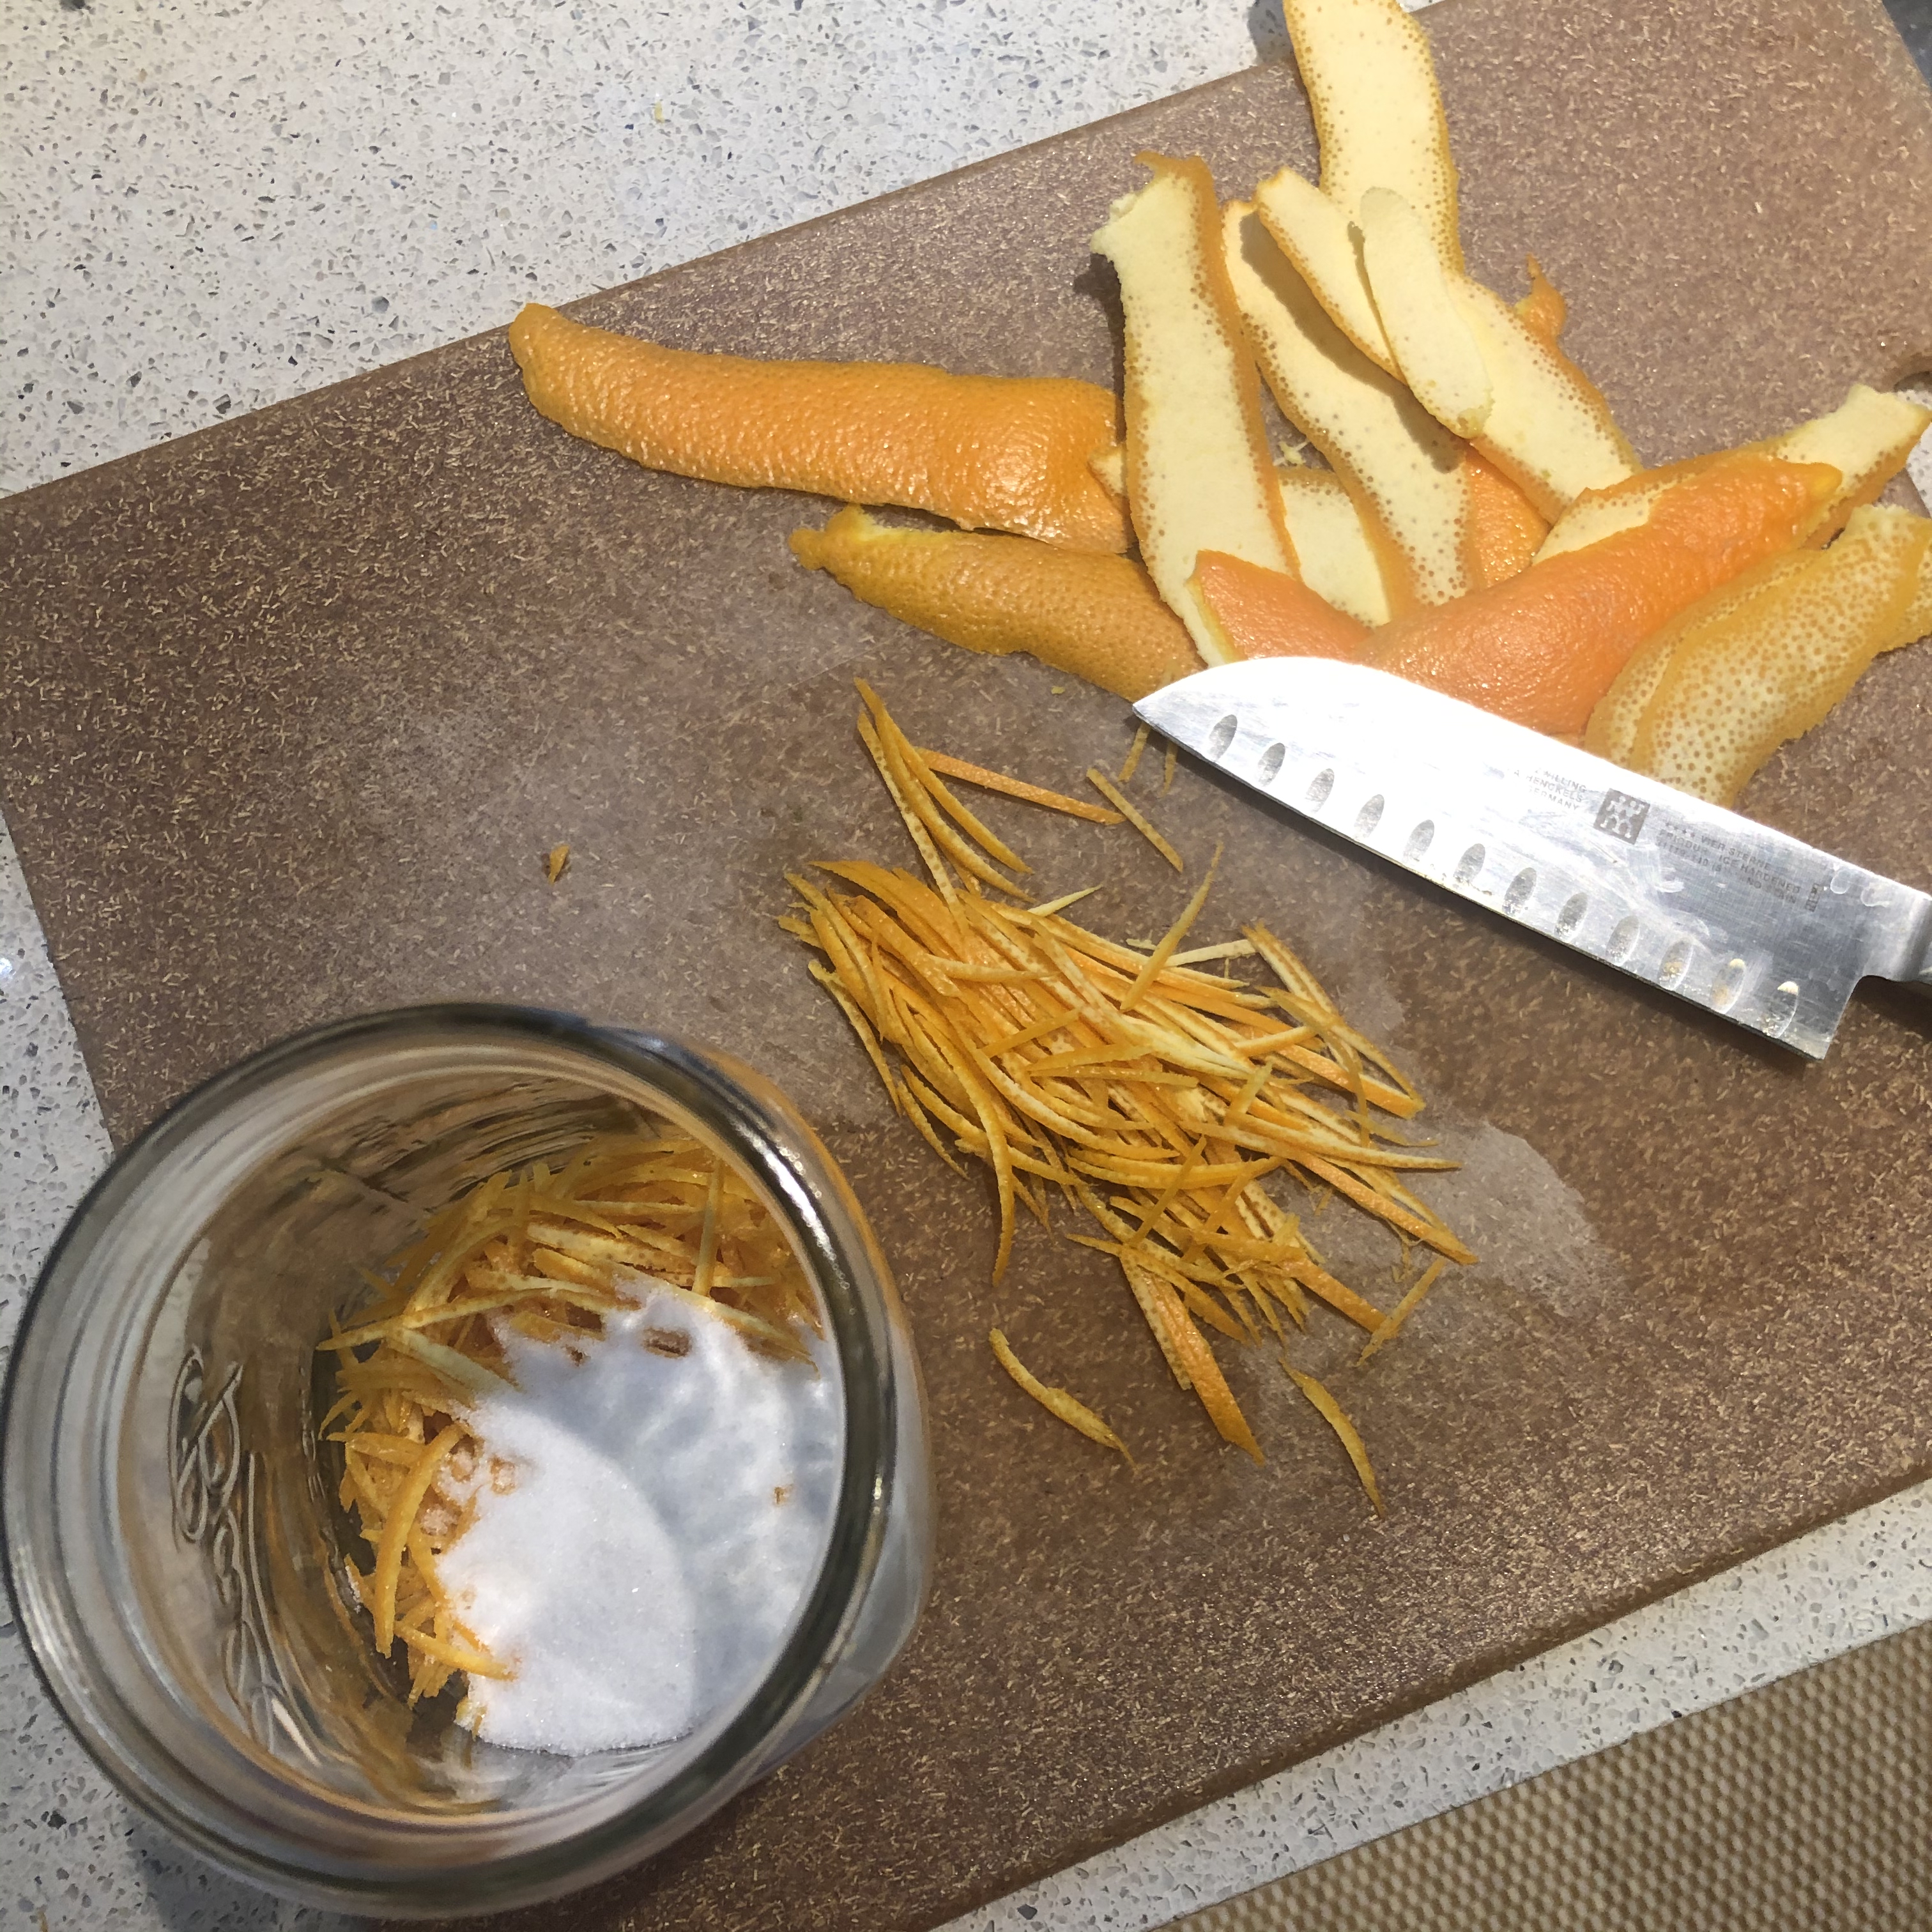
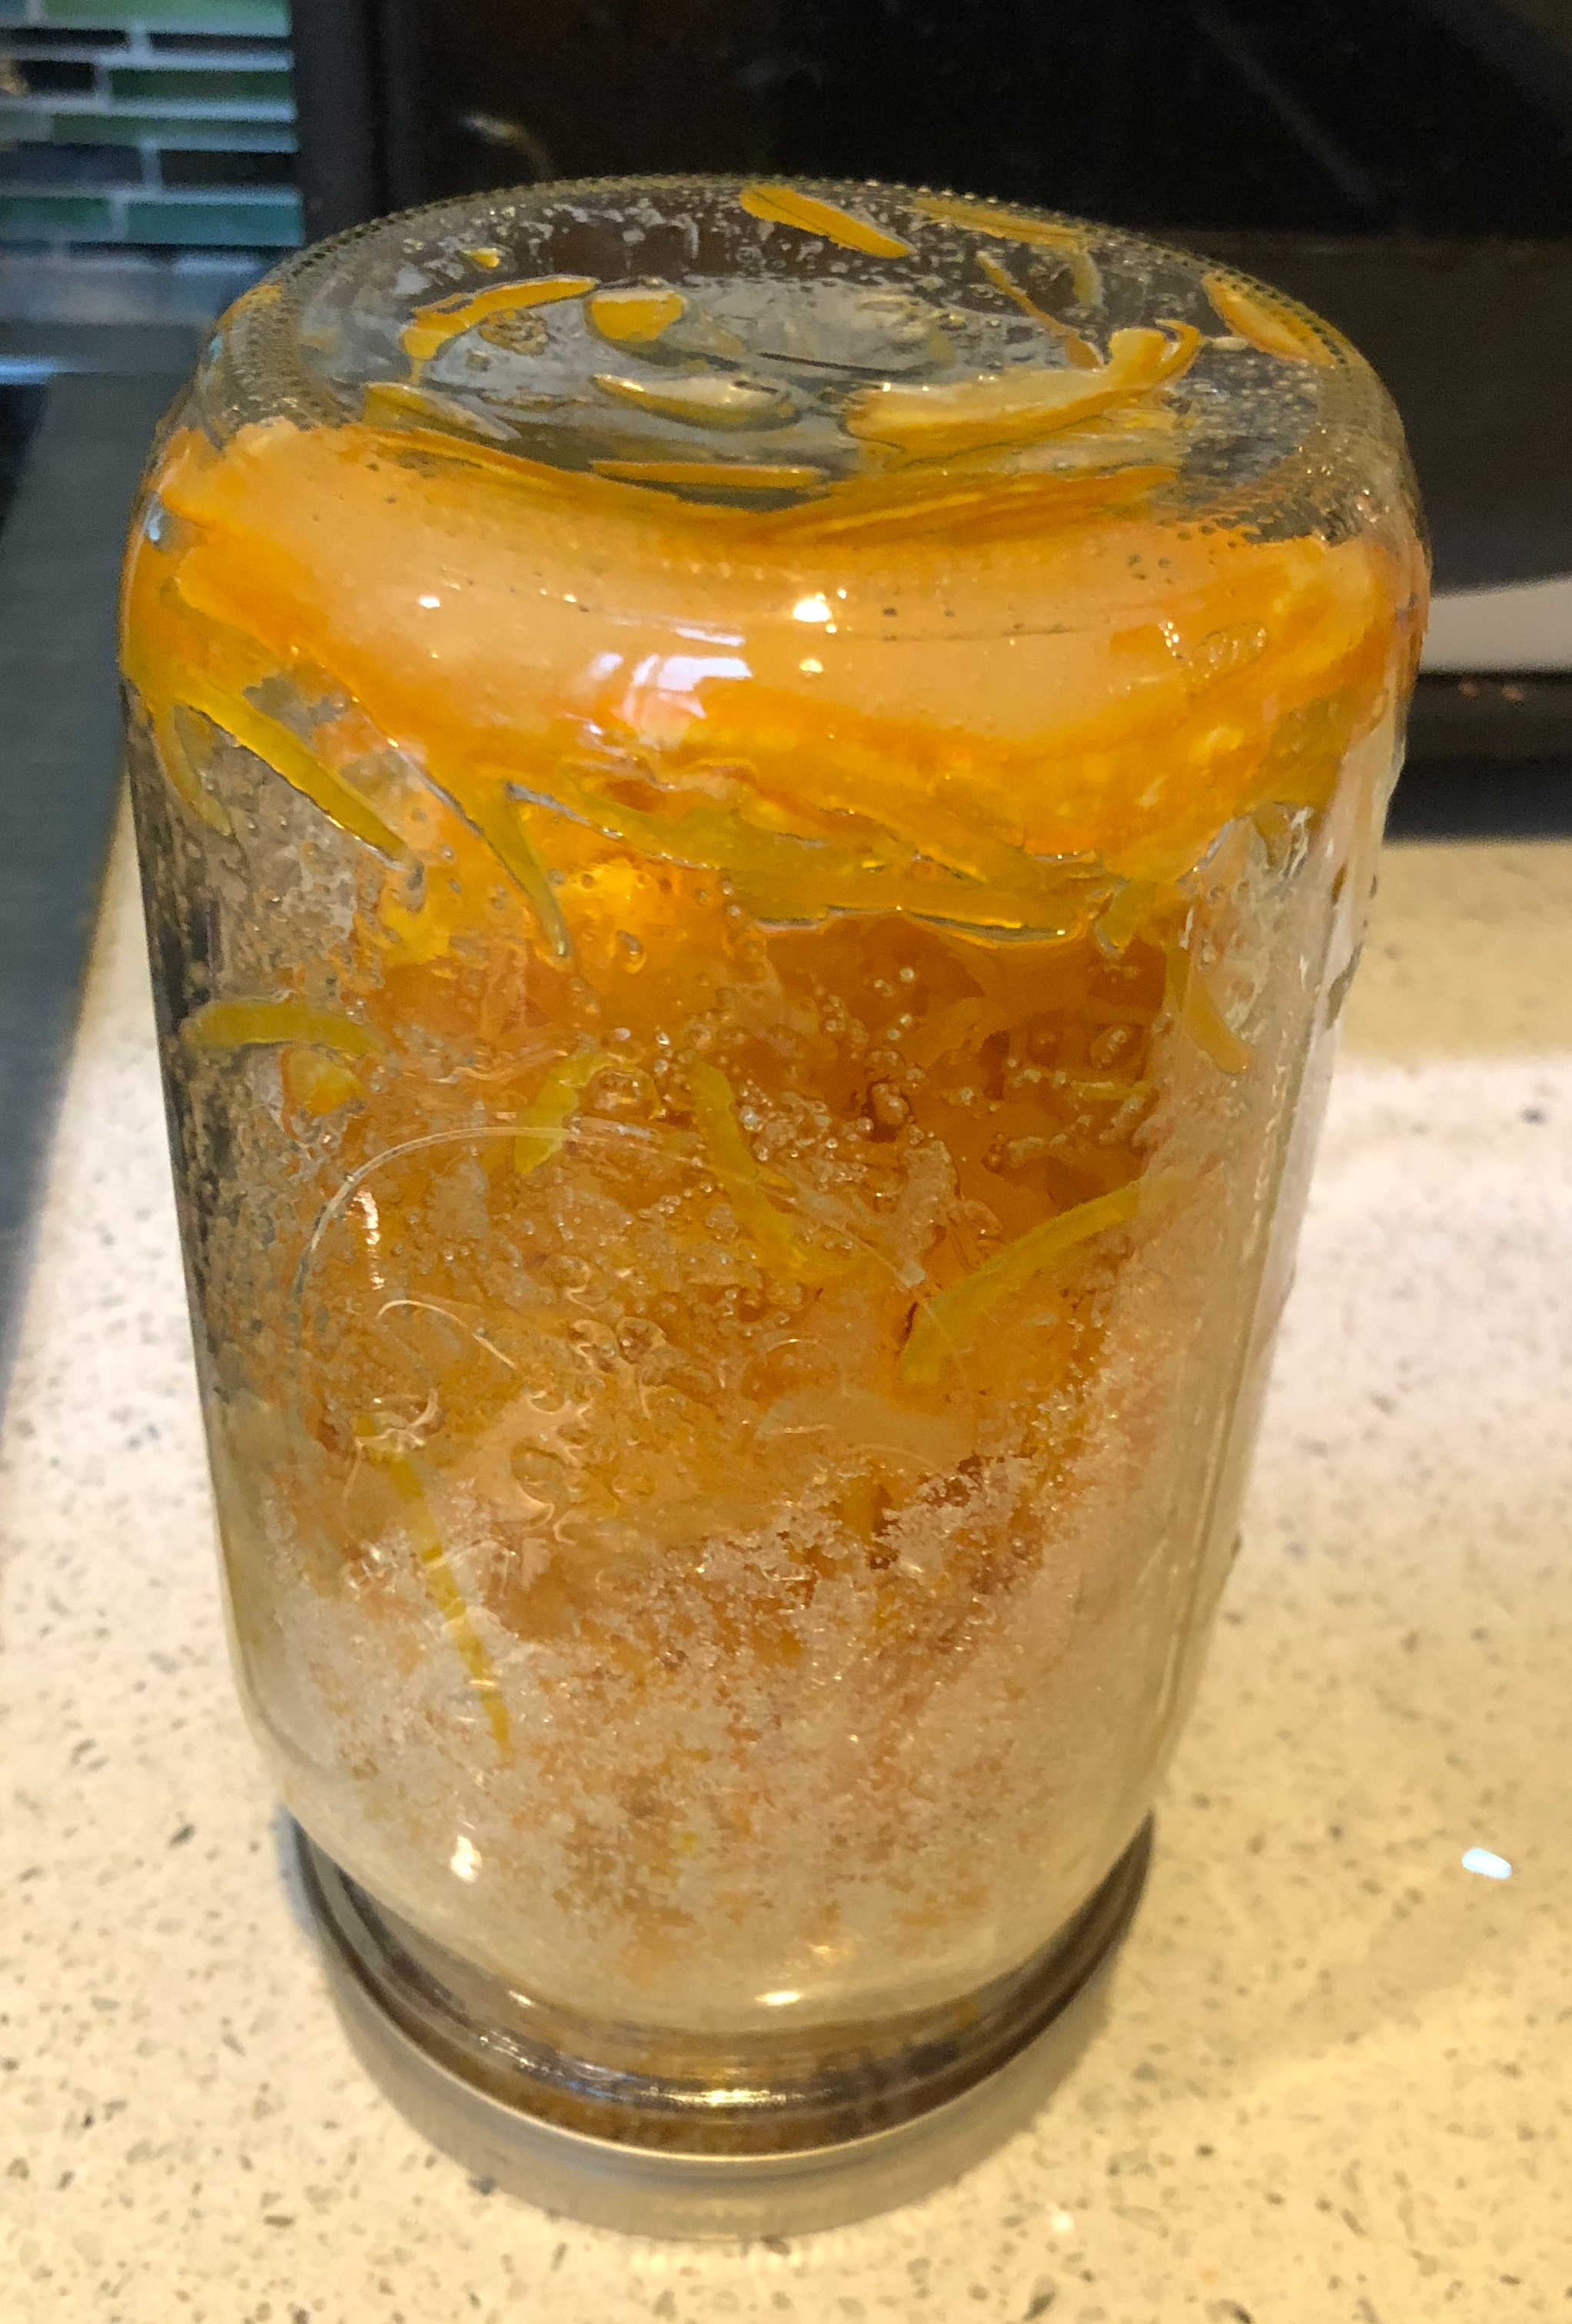
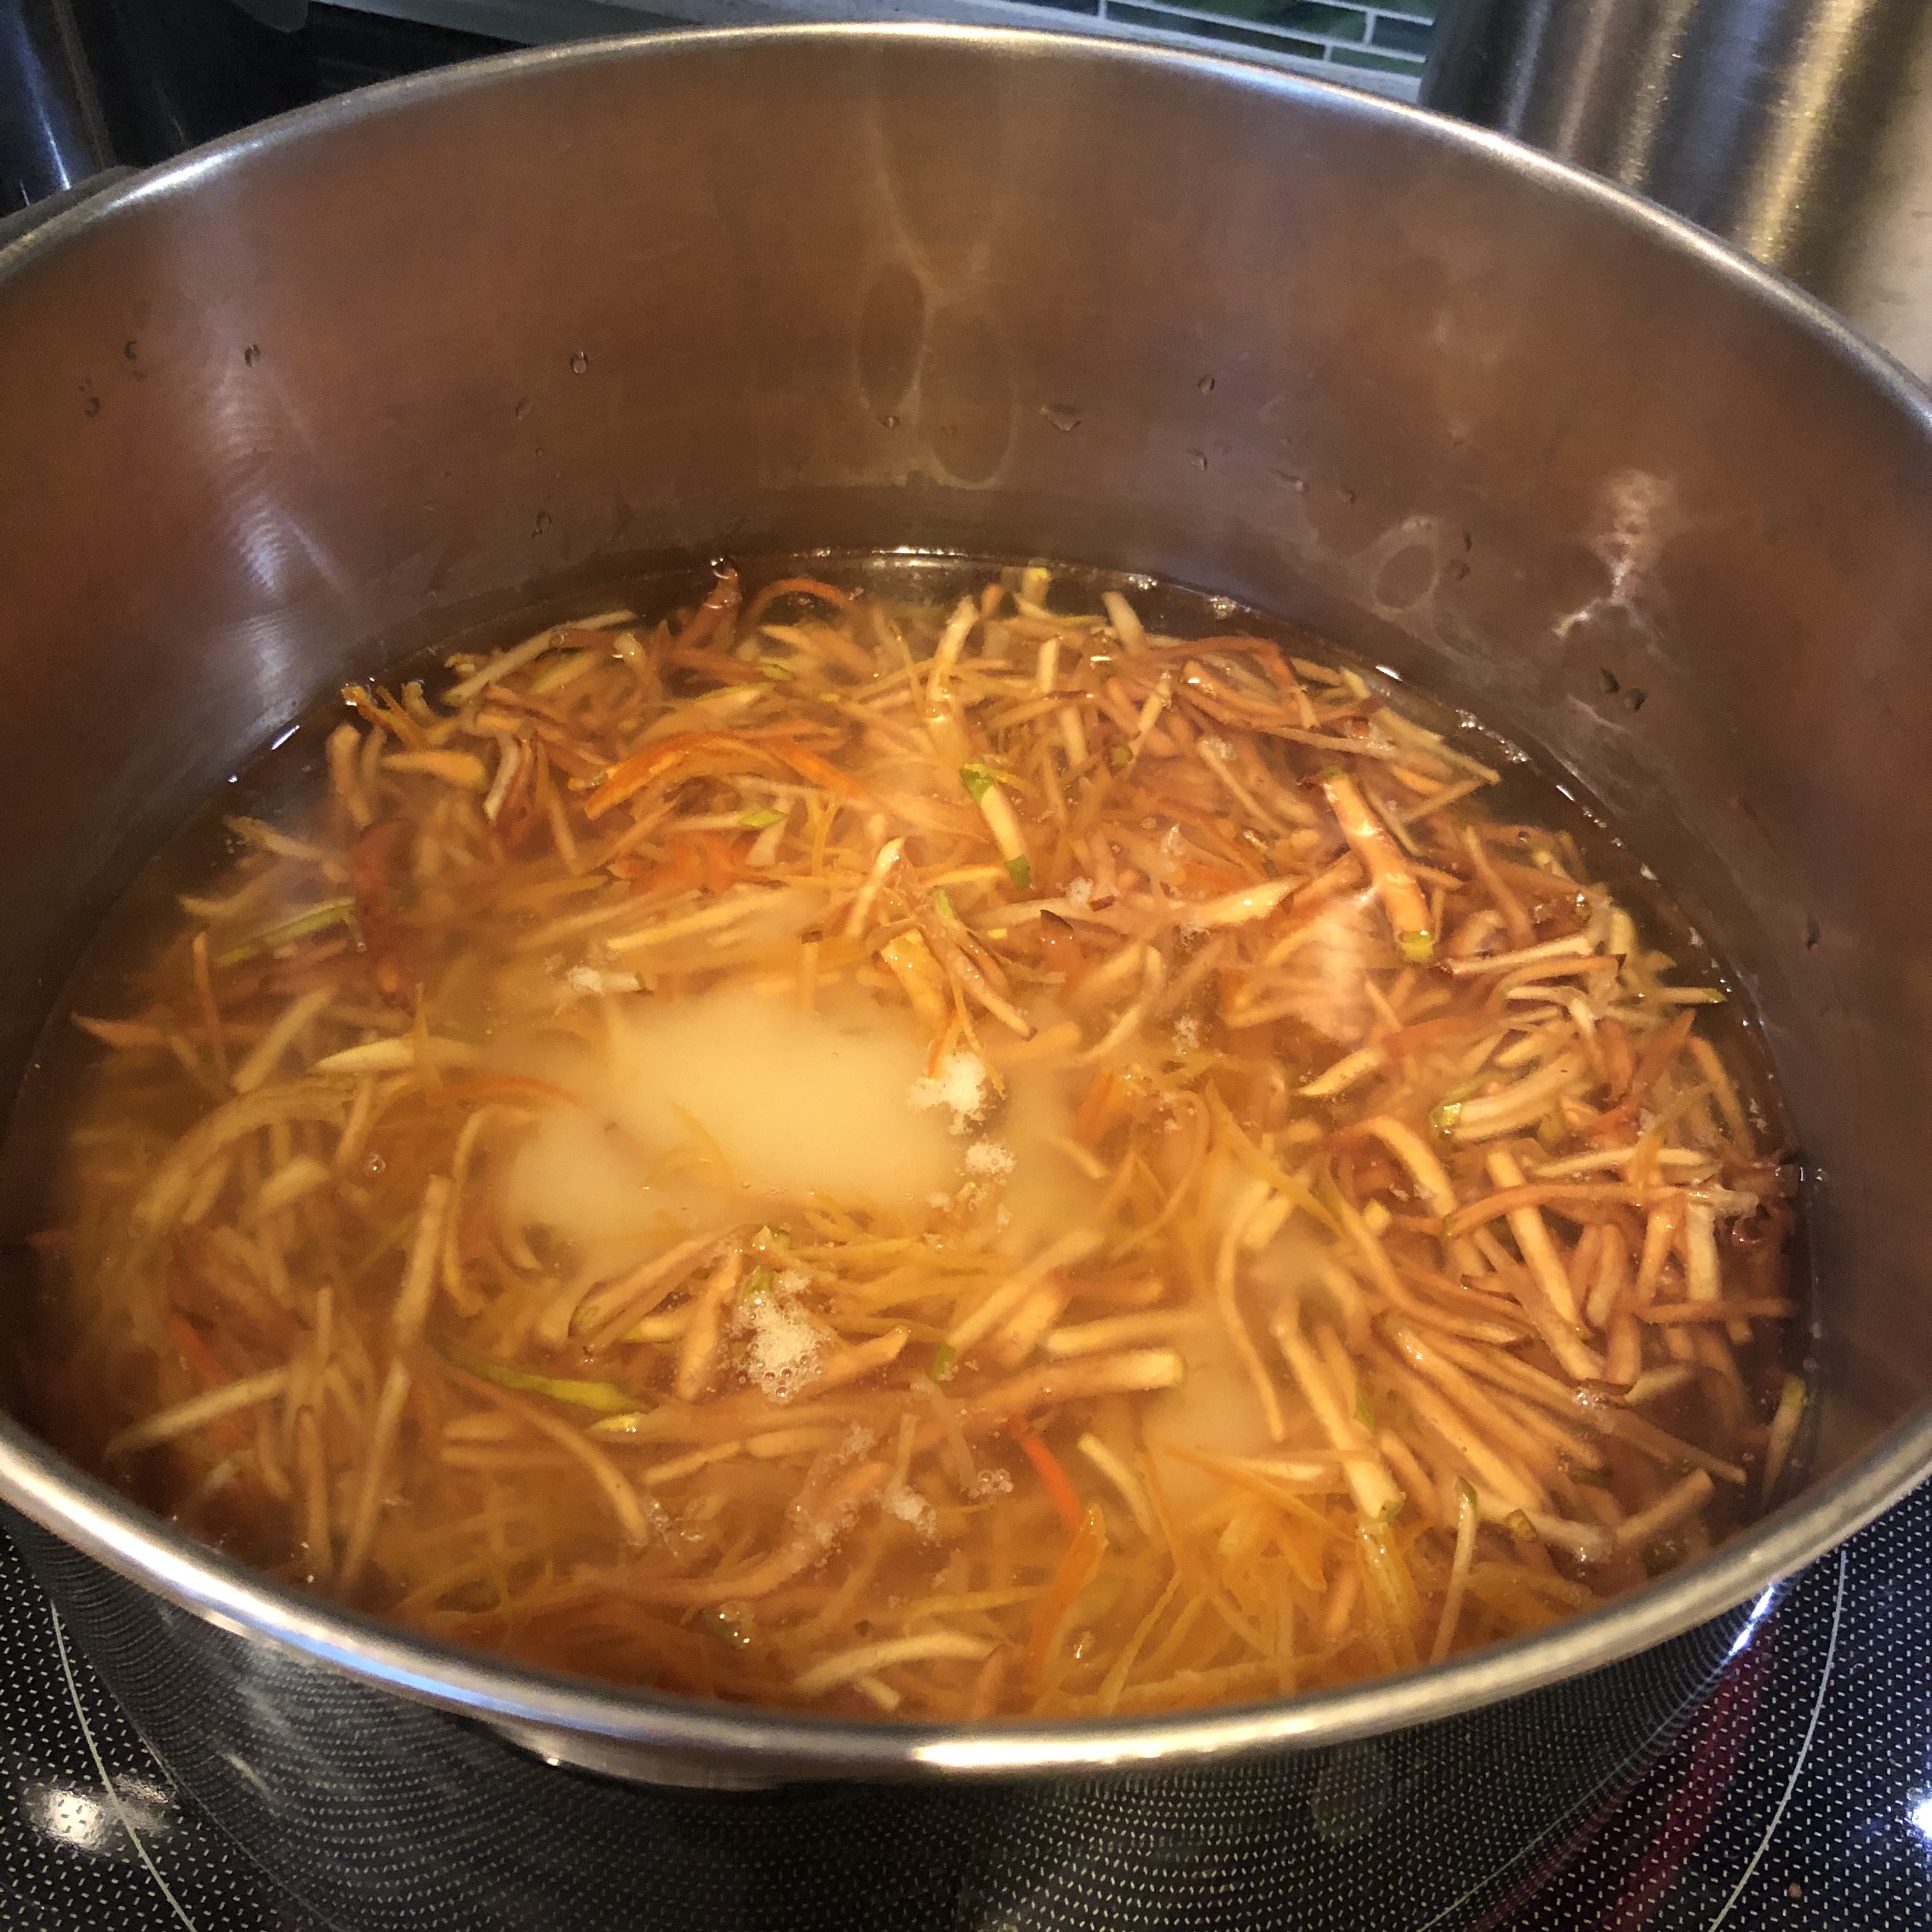
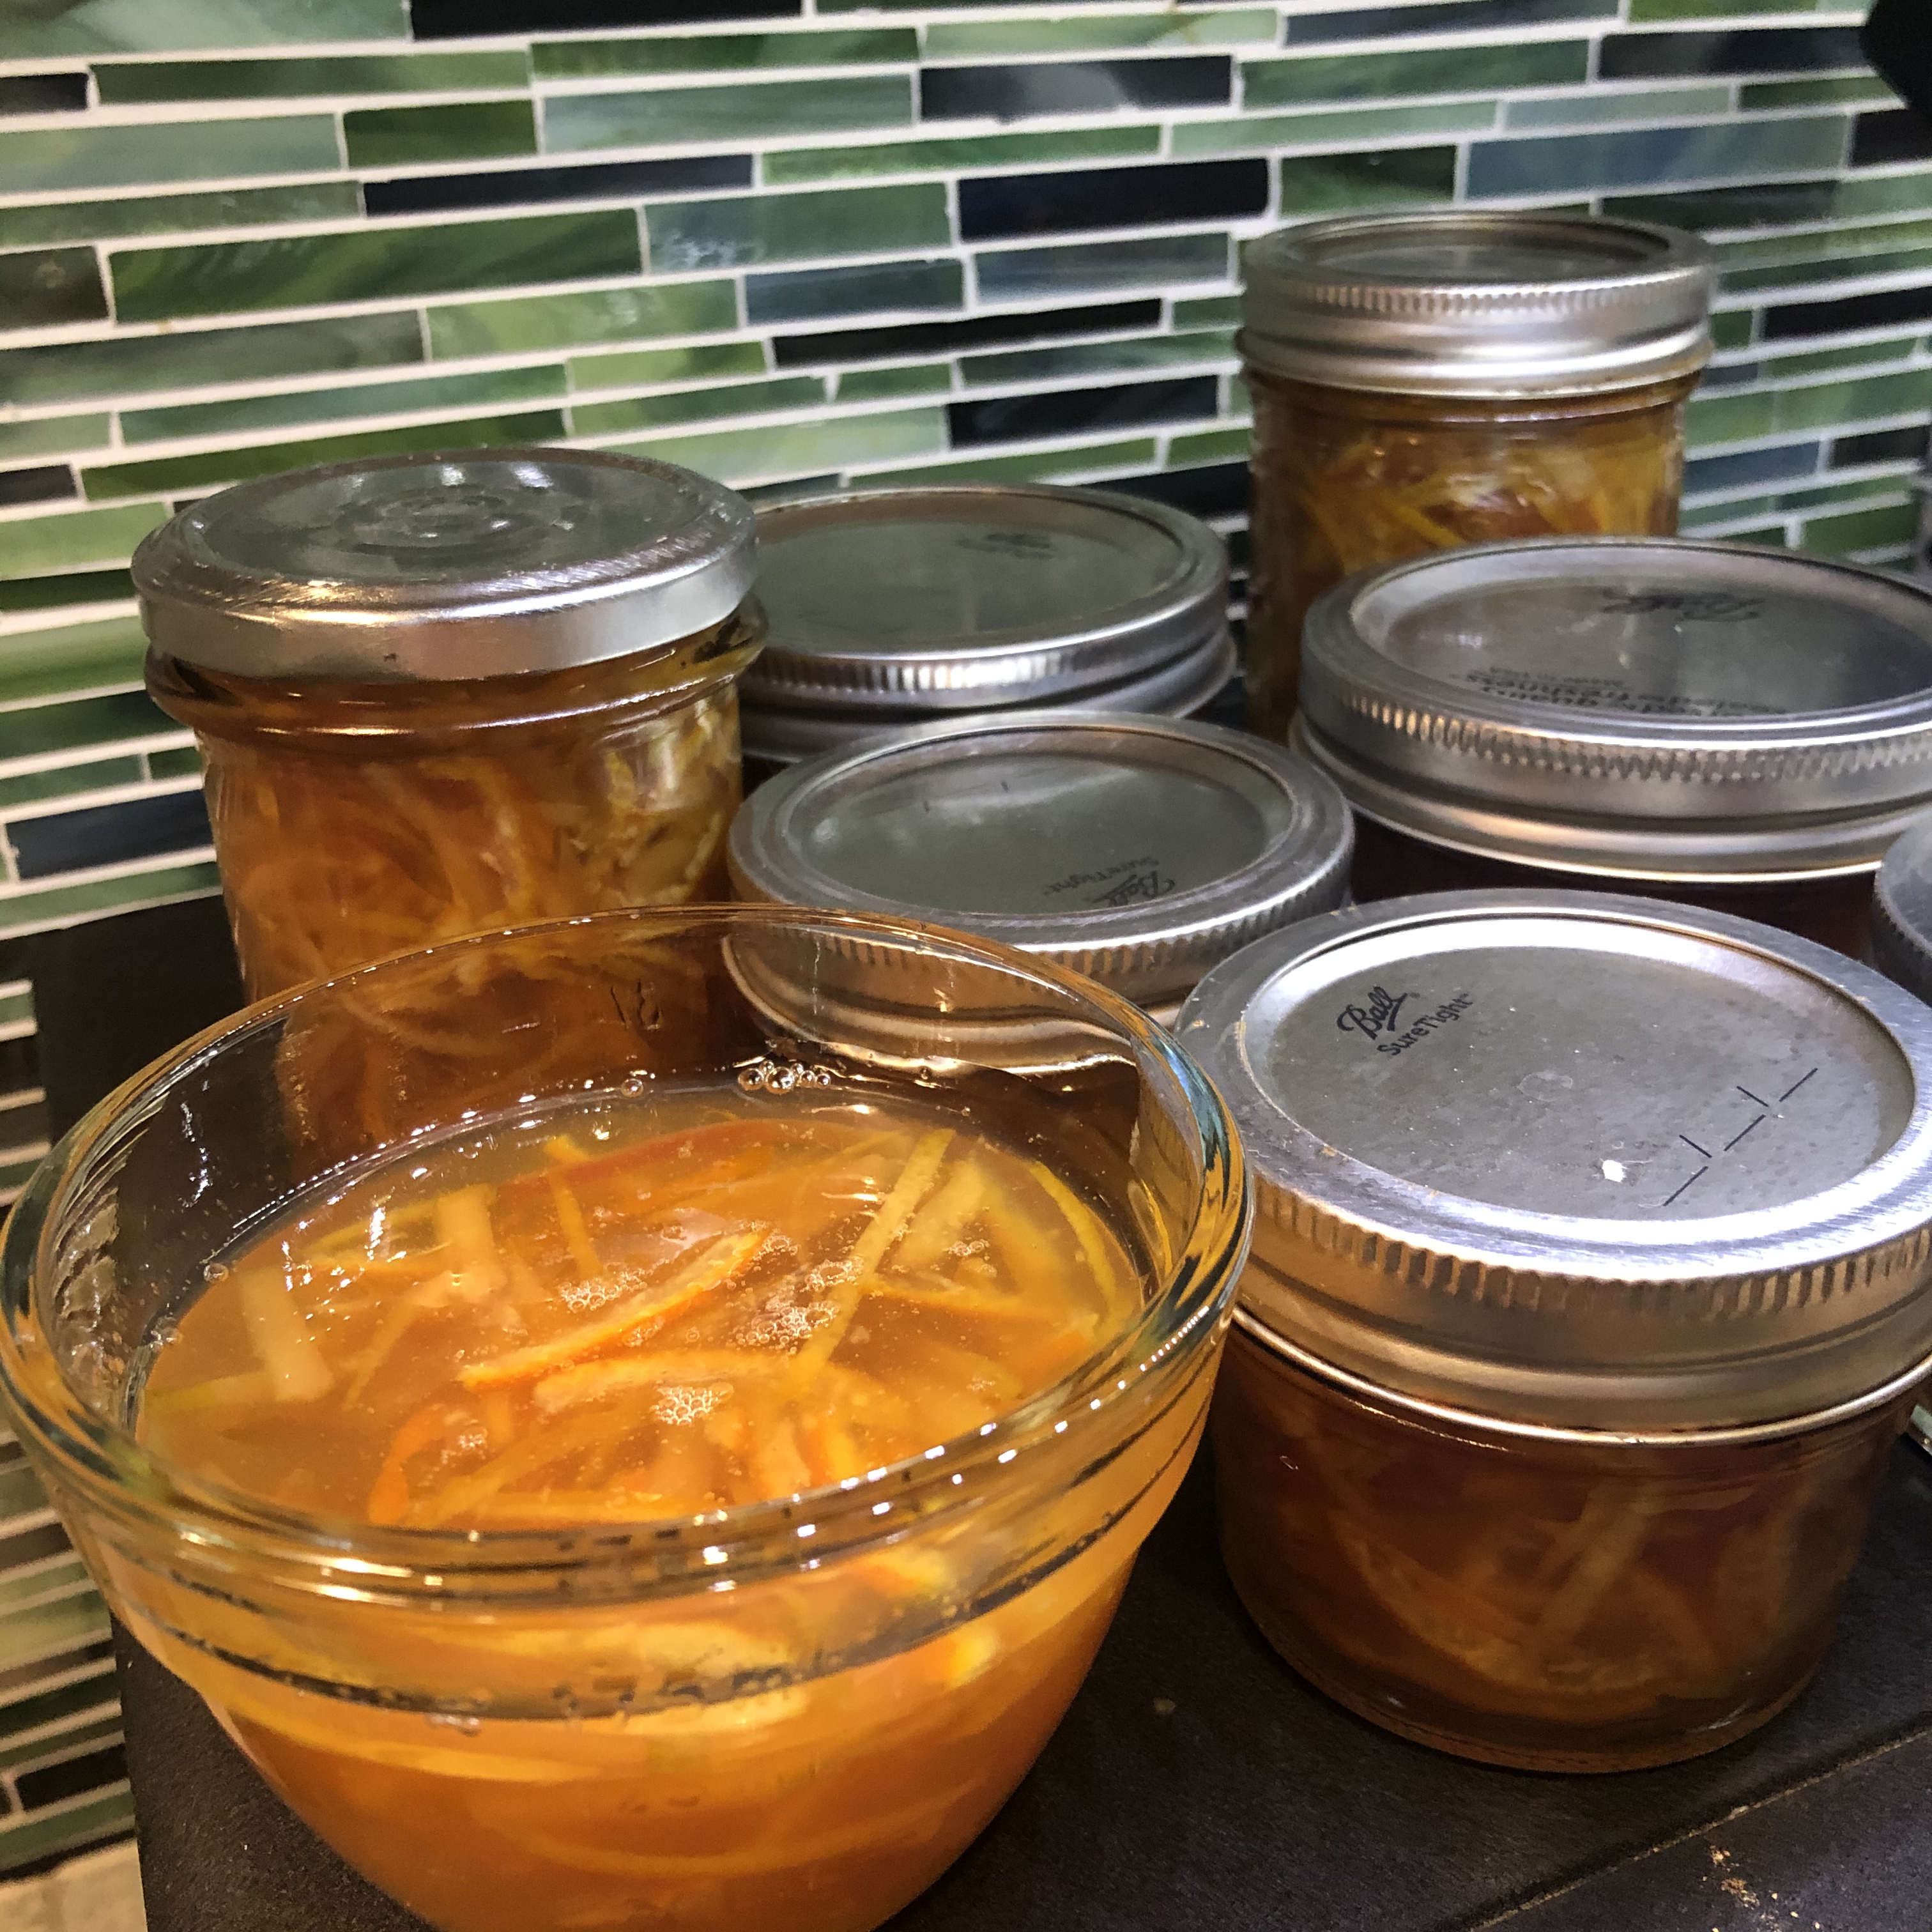
For this, I make sure to get a good chunk of the pith when peeling the orange. That’s because the pith contains pectin and while I always add extra pectin when making marmalade, it does give me the option to just boil it down if necessary. I like to julienne the peels by hand. You would need to use a really sharp knife on a stable cutting board if you don’t want to chop off your fingers. For each cup of julienned peels, I cover with a quarter cup of sugar. I think I read somewhere that the sugar and peels should be equal in weight, but I really hate toting out the kitchen scale… After stirring it a bit to distribute the sugar, I keep it in the fridge and turn the jar a few times every several days for a few weeks. Over time, the peels become translucent. Add liquid, sugar, and pectin then boil until thickened. You got marmalade. Any liquid you have on hand is fine but I prefer juice to water. One time, I used a hibiscus infused ginger drink from a local beverage business, Really Reel Ginger, because it had been sitting in the fridge for a while. I have also added julienned ginger, quince, and blood orange sections as well. Just make sure that whatever you add, it’s julienned to the same size as the macerated peels.
If you feel bad about throwing out lemon rinds, Serious Eats has a solution for you! It totally works with lemon, meyer lemon, lime, and orange.
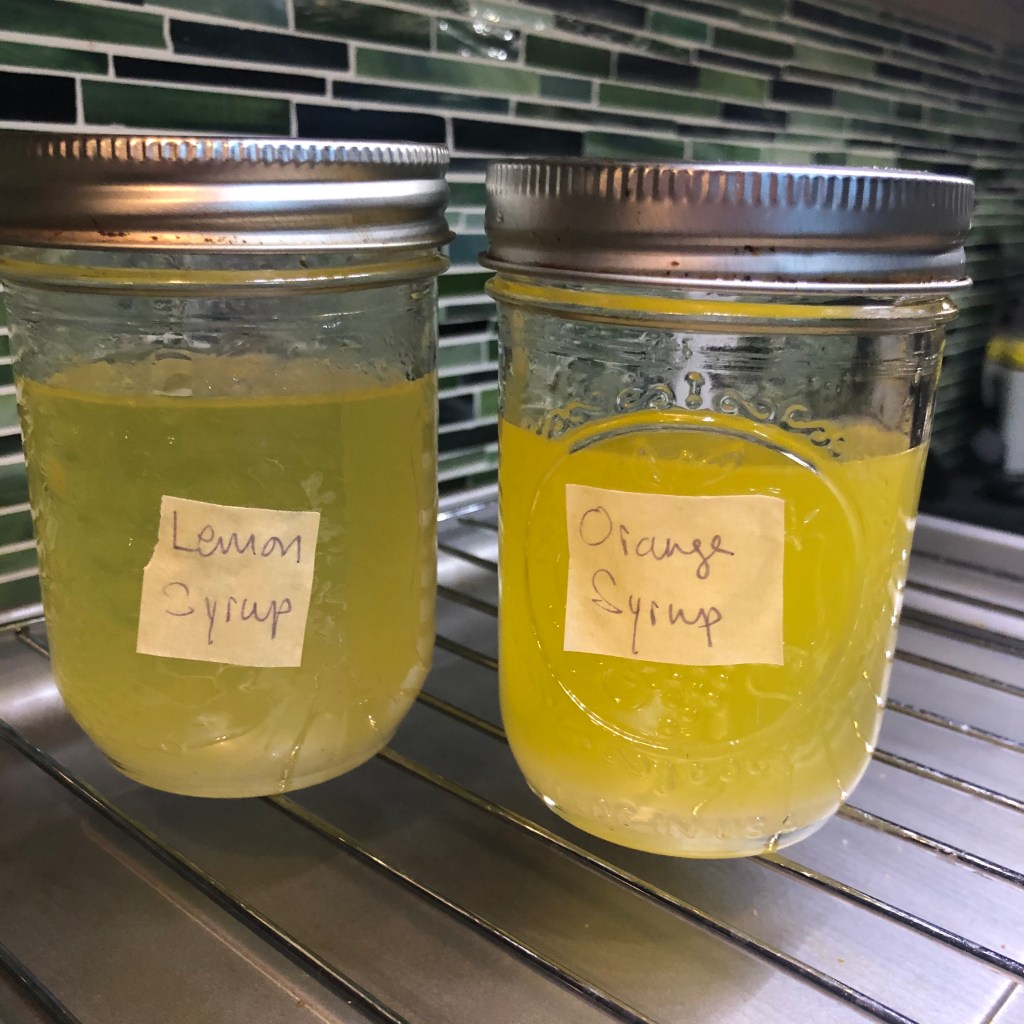
It even works with the peels zested off. They all end up being a greenish yellowish color so it is very important to label them. Serious Eats suggests many uses; the dude’s favorite thing is to drizzle it over blueberries for dessert. I recently tried this out with pineapple peels and core to see if I could make pineapple syrup. That worked too! Then, a friend pointed out that I was part of the way to making tepache.
Maybe, next time.